This is part 3 of a 4 part series on getting started with bicycling. In part 1 we covered getting a bike and in part 2 we covered proper clothing and tools to start cycling. In part 3 we are going to discuss how to ride your bike safely.
Its just like riding a bike
If you haven’t ridden a bike in a few years, or more, you should take some time to re-acquaint yourself with how to ride a bike. The is best done by going to either an empty parking lot or a grass sports field. Lower your seat so that you can sit on it with both feet on the ground. This ensures that if you need to stop suddenly you can just put your feet down.
Now, practice starting your bike. Put your dominant foot on the pedal at the pedal’s most forward position. If your dominant foot is your right foot the pedal will be at 3 o’clock, if looking at the bike from the right. If it is the left foot then the pedal will be at 9 o’clock, if looking at the bike from the left.
With both hands on the handlebar stand on the dominant foot and pick your other foot off of the ground. You should be moving forward and placing your non-dominant foot onto its pedal. As the pedal gets to the most forward position, push down on it. Keep repeating this alternating pedal pressure and you will continue forward.
Remain seated and adjust the handlebars either right or left to avoid objects like curbs, rocks, people, and cars (to name just a few). If your bike has handlebar breaks make sure your fingers are on them. If you need to stop pull them both gently towards the handlebar.
Once you have starting and stopping down you can work on turning. Start with making a 360 degree turn to the right. Then do them to the left. When you are comfortable with that link them together into a figure 8: Start pedaling and turn one direction until you come back to where you started. Once you are at your starting location start turning the opposite direction until you are back to where you started. Practice figure 8’s going both directions. Try getting the circles to be as small as you can without putting a foot down.
Riding on roads
In the US and many countries bicycles have to follow the same rules as cars. This means that when biking on a road you should be on the same side that cars travel. In the US this means you are on the right side of the road. Be aware that you are sharing the road with cars and try to get as far over to the right as is safe.
You need to obey all street signs and lights that a car does. This includes stop signs and lights. Try to remain predictable to cars and other bikes. This will allow them to anticipate where you are going to avoid running into you.
Always keep in mind that car to bike collisions are the most dangerous part of riding a bike. Don’t count on cars seeing you on the road. If the shoulder is small then you may want to find a safer route to ride. If there is no alternative you may consider wearing high visibility clothing and/or flashing lights:
Riding on trails and paths
When you are riding your bike on trails and paths there is some basic etiquette to follow. Bikes should always yield to pedestrians and animals(horses, etc). There are many reasons for this, but you just need follow it. Also if you are going down a narrow trail and someone is riding up you should stop and pull off the trail.
If you need to pass anyone from behind you should alert them of your presence well before you get to them. Based on your speed this may be 20 yards or further. Let them know which side you will be passing on. This should give them enough time to adjust without jumping into your path.
Let people know where you are going
When you are setting out on a ride you should let at least one adult know where you are going, and when you expect to be back. This may mean that you get a fresh lunch or dinner when you get home. More importantly this lets people know where and when they might need to look for you.
If you get a flat tire, or worse, having someone drive and pick you up is always nice. Make sure your cell phone is fully charged before setting off for a ride as well. That way if something does come up you can either call for help or let people know you will be late.
What to take with you
Besides having your bike, wearing proper clothing, and having a water bottle there are a few essential items you should have on a ride:
- Identification – If you are incapacitated from a fall having your ID on you will be invaluable.
- Cash money – You may need to pay a mechanic or get some calories at a gas station. If you tear your tire’s sidewall a dollar bill can help get you home by patching it.
- Multi-tool – The multi-tool you bought after yesterday’s post should fit in your pocket. Bring it.
- Fully charged cell phone – Besides calling for help you can see where you are on the GPS map, and take cool photos of your ride.
Staying safe while riding is not too hard but you need to take it seriously. Overall riding bikes is a fun and safe activity. Keep this post in mind and you will be fine.
Workout Detail
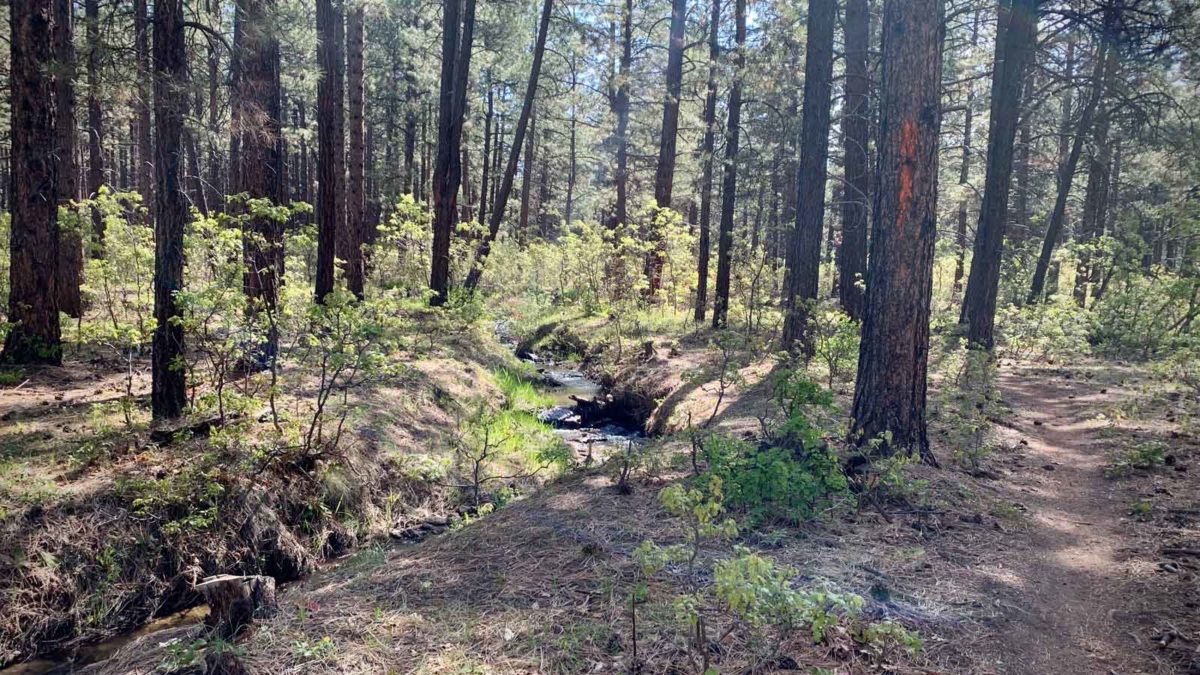
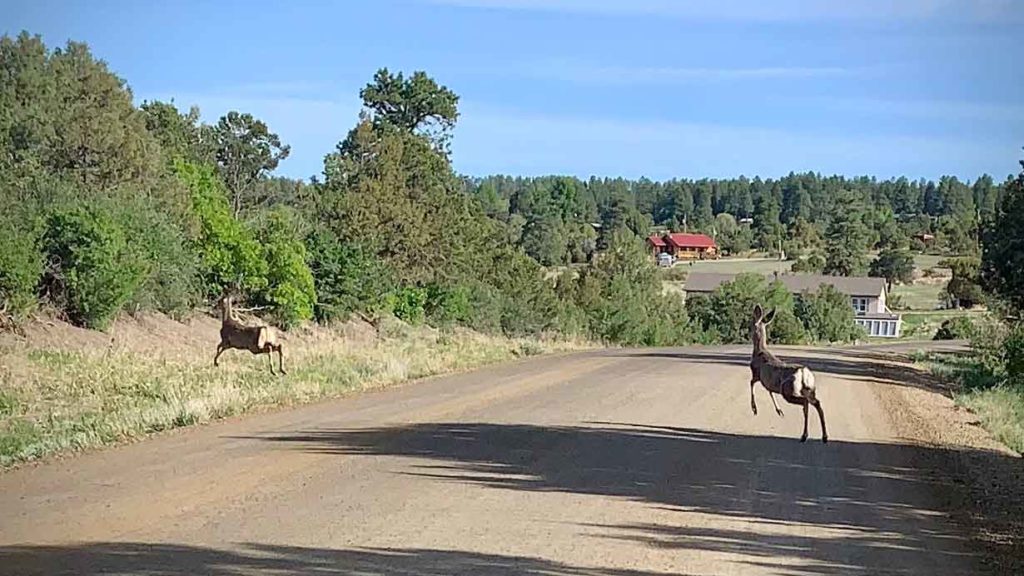
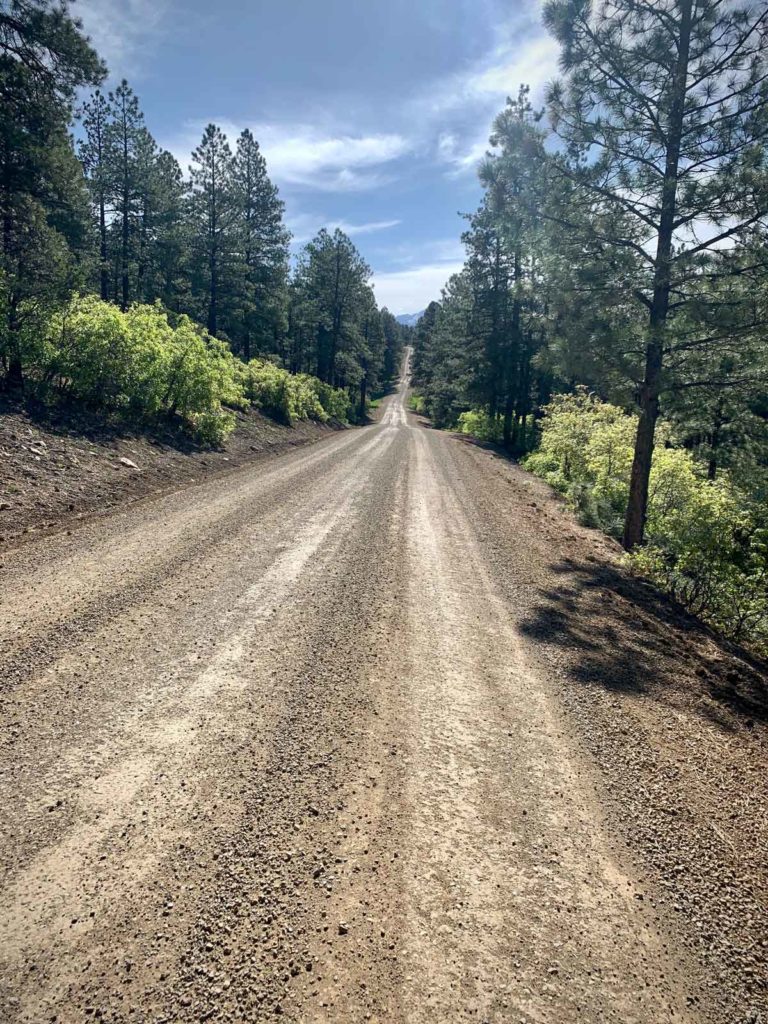
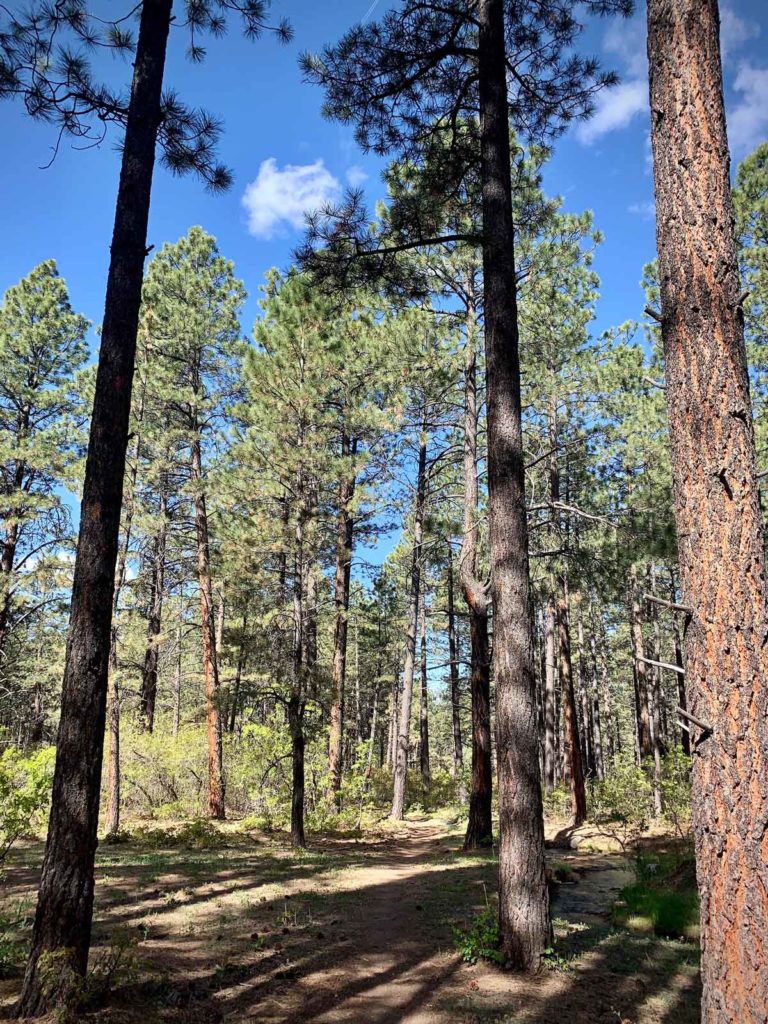
Long slow ride for 2 hours. Today was another beautiful day in Colorado. I road up to the Chicken Creek Nordic Center on Road 40. From there I road on the main large trail loop and then headed home. There were some deer on the road near the start of Road 40. Overall there were not any people out that I saw.
I hope you had a great Saturday as well!
Leave a Reply