We put in another day hanging drywall today. We finished most of the walls and the bathroom ceiling. Pro tip: start drywall with the ceiling first.
It rained last night and this morning so we were delayed an hour getting started. After another cup of coffee we started measuring layout and cutting the boards to fit.
Workout detail:
Spent another day hanging drywall. Walked most of fence-line trail with Kate after dinner. Tired today. Good tired though.
We built a 320 sq ft cabin 2 years ago. It started life as a guest restroom/bath-house but quickly evolved into a larger structure. Last year the windows and insulation were finished. This year we are adding solar power which means we need to finish the drywall. This weekend Kate’s dad and I are hanging, taping, and mudding the drywall.
Today we hung the ceiling and half of the walls. We rented a drywall lift to make hanging the ceiling almost easy. If you ever need to drywall a ceiling be sure to rent a lift.
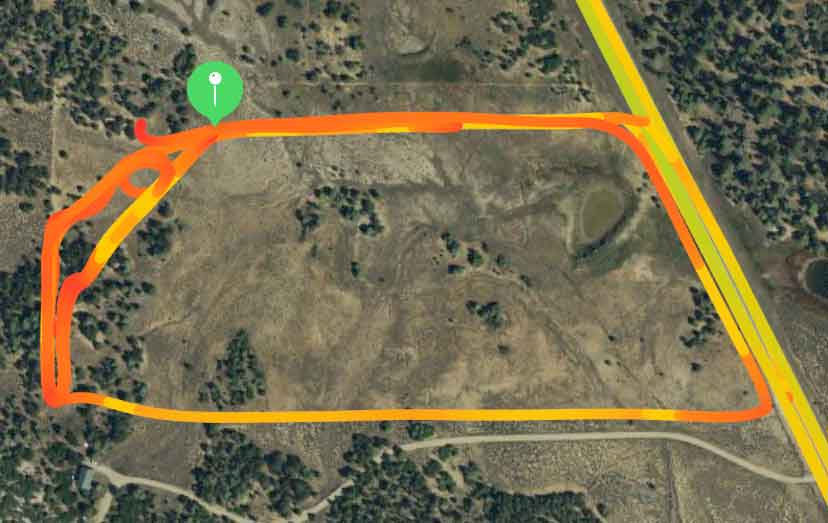
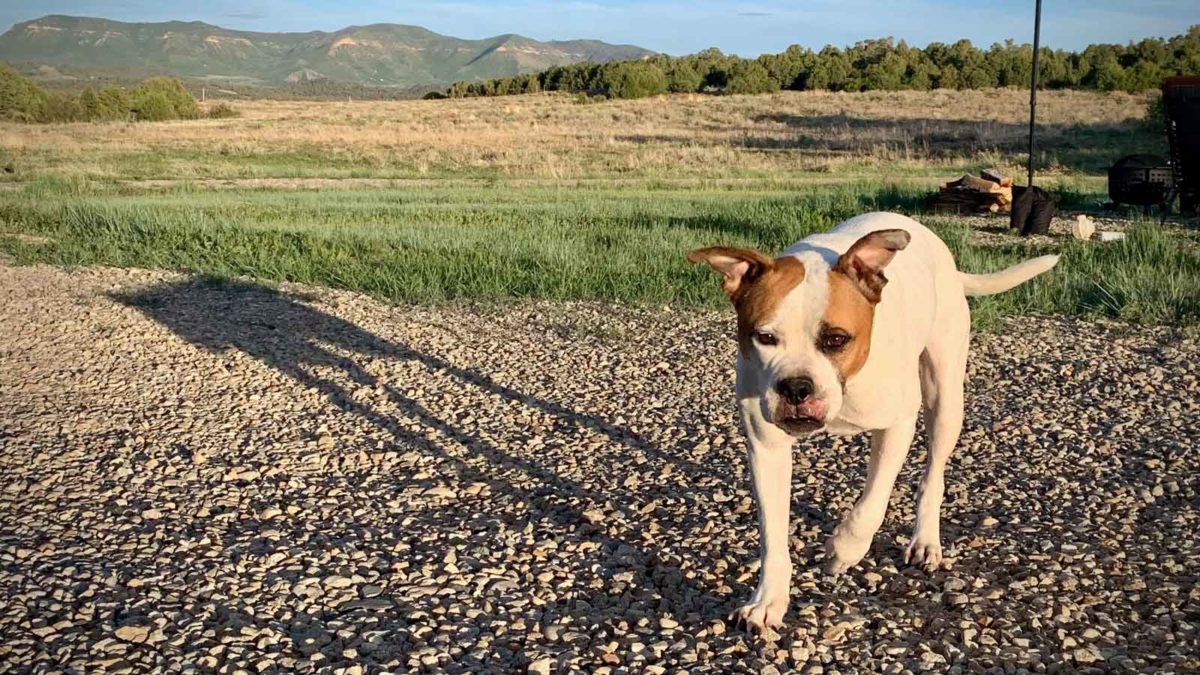
I am building trails for biking and hiking on our land in Colorado. In a prior post I talked about the fence-line trail that surrounds the perimeter of our land. The previous owner made the trail by walking it multiple times a day for decades. The problem is its a little narrow for a bike trail, and we have let the vegetation take parts of it over.
My next trail building project is going to be a rebuilding of the fence-line trail. The goal will be to cut back the vegetation and widen the existing trail to 18 to 24 inches. This will make it more fun to ride by people of any skill level. It will also improve the drainage which will help keep it ride-able.
Tools
Before
After
I have said that making a trail is making a shallow ditch. You are digging a few inches into the ground and removing vegetation. I would refine that to say that trail building is more akin to tilling a garden. In a garden you are moving vegetation by weeding out any plant that is not what you want to grow. Building a trail is the same but you don’t want any vegetation to grow.
The tools for trail building match the gardening metaphor as well. Rogue Hoe’s trail building line of tools are all hoes and rakes. Currently I have been using my metal rake the most to build the section of fence-line and kiss of cactus trails. It levels out the dirt and removes dead vegetation and large rocks.
The issue I am starting to run into more is the live vegetation that has good root structure. For this I need a tool that cuts more than the metal rake does. Professional trail builders and forest firefighters in the US have used the McLeod for over a century by combining the rake with a hoe. One of our good friends is a retired forest service firefighter and recommended I grab the 55HR – 5.5″ Hoe/Rake for what I need. Rogue Hoe is a small family company that I am excited to support and it looks like the tool is very high quality.
Before
After
Workout
I have been taking it easy this week but am still getting my workouts in. Raking a trail for 30 minutes gets a good sweat going. My goal is to have the fence-line trail completed within two weeks. Once the 55HR arrives I should be able to move even faster. Hopefully I will have the next segment of trail completed by the end of June.
When we hit the road in 2014 we had already installed a solar system on our trailer. It allows us to park anywhere there is cell signal and do our computer work stuff. Overall its one of the best home improvements we have ever done. It has worked great for us and has improved our understanding and respect for electricity.
Now we have built a cabin on our land. We are planning to power it with solar power and have used our knowledge from the trailer to build a larger system. We are also getting great support from our supplier to ensure everything works safely.
This is going to be another multiple part series because there is a lot to talk about.
In this part I will talk about the 2 basic types of solar electric systems for a home
Grid Tie
Off-Grid
Most residential homes and businesses are grid tie solar systems. When we lived in Phoenix we put solar on our home and haven’t paid an electric bill in 8 years. These systems create electricity from the sun and then put it back into the larger electrical grid. Then as the home needs electricity it pulls from the grid. Laws called net Metering force the utilities to give you credit for the energy you give them.
Our trailer and the cabin are going to be off-grid solar systems. This means that we not only create the electricity, but we also have to build a storage system like the electrical grid. This is done with batteries. Because batteries have a limited amount of power the trick is buying enough batteries for what you need. This is done using a spreadsheet or any number of online solar calculators.
For the cabins system we are going to double the size of our solar production and battery storage capacity. This will allow us to have a residential refrigerator, a clothes washer, and a few appliances. The plan is to make it a killer guest house, and maybe we will spend some of the colder months in it.
In the next episode we will talk about batteries.
Workout
I am taking it easier this week and have cut back on the strength training. Its not my favorite workout right now and I have enjoyed sleeping in a little bit.
I grew up mountain biking in the Colorado Rockies and just as the sport was taking off in the late 80’s and early 90’s. I looked up to riders like John Tomac, Ned Overend, Tinker Warez, and others. We would toad trip to Moab, UT for spring break and ride Slick Rock, Poison Spider, and Porcupine Rim. I love riding the dirt.
When we purchased land a few years ago my first thoughts were to make a system of bike/hike trails. Reality hit me when I realized that trail building is also shallow ditch digging. However, this year is the year that I kick things into gear. I am riding well and the strength routine has my arms ready for digging.
The first trail is the one that came with the land. Its called fence-line cause it follows our fence-line. The prior owner had walked the perimeter a lot and the trail formed over time. Its not a great biking trail, yet. I need to rake it and in places dig vegetation back a bit.
The outside line is mostly where fence-line trail exists. Lots of work to be done here.
Fence-line is fun but I wanted to build something smaller and slower for anyone to ride. It has some challenge to it so you feel accomplishment, but mostly its just for fun. There is a good amount of cactus throughout this area of the land. So we call her: Kiss of Cactus
It’s a quarter of a mile long, and gains 16ft of elevation.
Kiss of Cactus is a fun quick rolling spin around the highest point of the land. It was fun to build the first trail small so that it would be ride-able quickly. The next trail will be a little longer and faster. I hope to have it done in a few weeks. However, we are hanging drywall this weekend so there may be a delay.
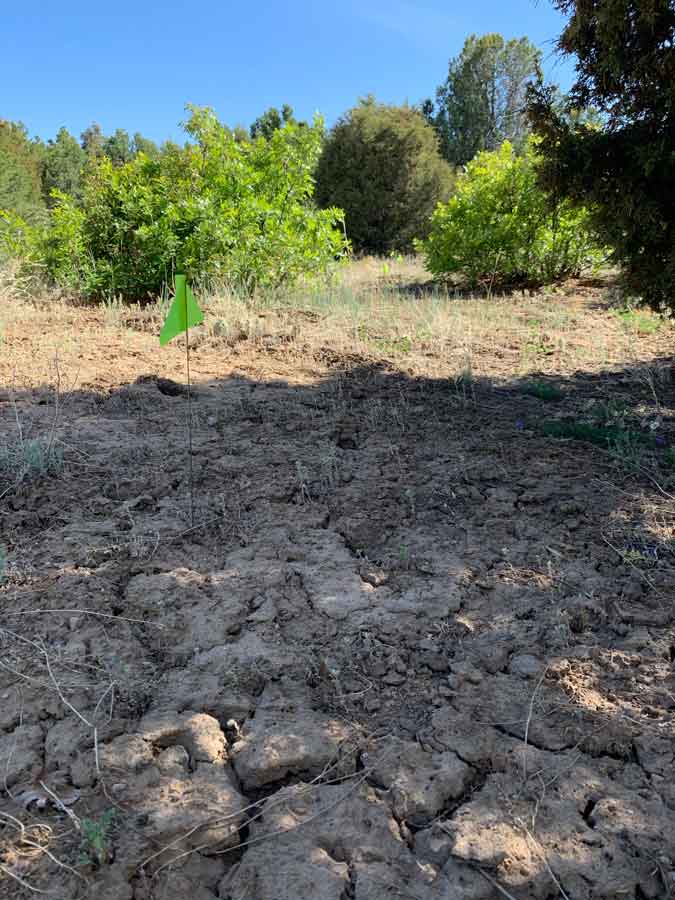
Flag the trail
Rake the trail
Cut the trail
Ride the trail
Workout detail
3 sets of 3x10second sprints.
The Fence-line to Kiss of Cactus is the perfect trail for 10 second all out efforts. There is a small climb on Fence-line to the corner where Kiss of Cactus begins. That is where I do the 10 second sprint and then cool down for 3 minutes by riding back down.
One channel I have enjoyed watching for a few years now is Seth’s Bike Hacks. The videos are about riding your bike but are also really well done. While, I am not quite as crazy a rider as Seth is, the entertainment value is very good. He has also been building trails on his land which is something I have started doing as well.
His videos are mainly mountain bike focused and he made some beginner videos a little while ago:
Overall the videos are fun to watch and you can learn a lot too.
Workout details
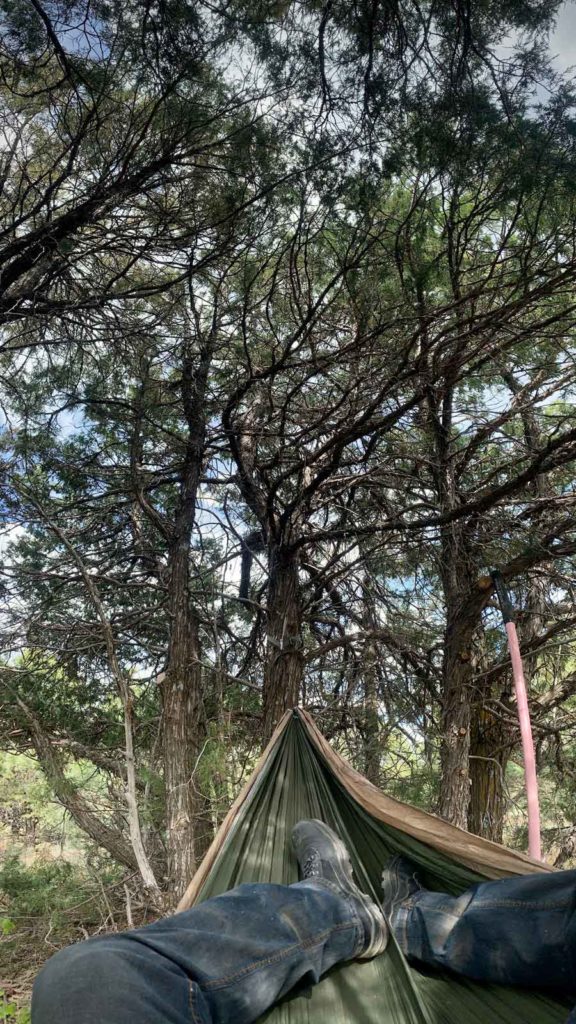
I have to admit that the 2 rides I did this weekend wiped me out pretty good. I am suppose to do strength training today but think I am just gonna walk the land and enjoy the scenery. Oh and also plan my trail system. 😎
Happy Memorial Day to those in the US. Happy Monday to everyone else!
The 4th installment of this series examines how to make riding your bike into a habit. Making riding a habit is as easy as getting on the bike and riding 3 or more times a week. Putting some thought into the why and how of riding a bike can help you find time to go riding.
Motivation
Find motivation, or a reason to ride. Then on days where you aren’t as excited to go riding, or time is short, you will have a reason to help you get it done. You will also be better at explaining to others why you are spending time and money on this new activity.
There are a lot of reasons to ride a bike:
Its a lot of fun
Its a form of exercise
You can go fast
There is more to see
Choose one, or all of them, and make up your own. There are very few downsides to getting a bike and riding it 3 times a week. If you have any medical conditions you should consult a doctor before. Otherwise anyone can take up riding a bike and have a great time.
Finding motivation for riding is the first thing you should put some thought into. Write it down if that helps. Having a reason to ride makes spending time riding more enjoyable and probable.
Finding a place to ride
Is it safe to ride from your home? Riding from home increases the probability that you go for a ride. You just put on you riding clothes, get on your bike, and go for a ride. This is also a new way to see where you live. The pace is slower so you see more. This is how I do the majority of my bike rides.
If it is not safe to ride a bike around your neighborhood; then don’t do it. The last thing you want is to be nervous and scared while riding your bike. If it makes sense to drive to a nearby park or area of town with bike lanes then drive.
If you are going off road Trailforks is the site and app to use. The data is crowdsourced, but moderated by local trail groups. In my experience it has been very accurate.
If Trailforks is a bust have a look at Strava. You can look for local riders and see where they ride. We have found some trails that were on no maps with the Strava method. Also check with the local bike shops, especially for trail conditions.
For city riding you will want to check Google Maps. They have the most cycling lane data for the planet. Search for your location, have the bike lane setting on, and the bike lanes should appear as green lines on the streets with them. Also just do a Google Search and have it in bike mode and Google will suggest routes. You can use Gmaps Pedometer (now called MilerMeter) if you want to draw your own route.
How far to ride is determined by your average speed, and how long you have to ride. If you have 20 minutes to ride and average 5mph then you need to plan a 1 mile course. Some people find they can average 10mph within a few weeks of regular riding. Then you would want a 2 mile course, and so on.
Maintain your bike
Wash after each ride
Keep chain clean and lubricated.
Keep tires inflated.
Learn how to change a flat tire.
Have your gear ready to ride
I tend to ride in the morning. Its nice to do before work and there’s less wind. It really helps if I have all of my clothing laid out and ready to wear. My water bottle is filled and the tire pump is next to the bike. My helmet is hanging next to the pump.
Software and hardware
There is no requirement that you track your rides. However tracking your bike rides is really easy to do if you have a smartphone. My first suggestion would be to use the Strava app to record your rides. It has an intuitive interface and the free version has what you need.
To begin with you just need to focus on time of ride. Go for 20 minute rides to begin with.
Riding buddies
Riding with friends and meeting new people is a great part of riding. However, currently I am not riding with anyone outside my home. Its probably going to be a little while till this changes.
One extra benefit to using Strava is that you can connect with friends. By following each other you will see when they post a new ride. This can help inspire each other to keep riding. Its also kinda cool.
Next steps
Ride for four weeks, 3 times a week, for 20 minutes at a time. Your butt is going to get sore. If it gets too sore then you may need to get a different seat. There is a lot to consider when choosing a seat. Maybe someday I will write a post about that.
Workout detail
2.5 hour ride prescribed. I rode some new trails and it was a very nice day. I felt good all ride but my seat was feeling sore in the last 10 minutes or so.
This is part 3 of a 4 part series on getting started with bicycling. In part 1 we covered getting a bike and in part 2 we covered proper clothing and tools to start cycling. In part 3 we are going to discuss how to ride your bike safely.
Its just like riding a bike
If you haven’t ridden a bike in a few years, or more, you should take some time to re-acquaint yourself with how to ride a bike. The is best done by going to either an empty parking lot or a grass sports field. Lower your seat so that you can sit on it with both feet on the ground. This ensures that if you need to stop suddenly you can just put your feet down.
Now, practice starting your bike. Put your dominant foot on the pedal at the pedal’s most forward position. If your dominant foot is your right foot the pedal will be at 3 o’clock, if looking at the bike from the right. If it is the left foot then the pedal will be at 9 o’clock, if looking at the bike from the left.
With both hands on the handlebar stand on the dominant foot and pick your other foot off of the ground. You should be moving forward and placing your non-dominant foot onto its pedal. As the pedal gets to the most forward position, push down on it. Keep repeating this alternating pedal pressure and you will continue forward.
Remain seated and adjust the handlebars either right or left to avoid objects like curbs, rocks, people, and cars (to name just a few). If your bike has handlebar breaks make sure your fingers are on them. If you need to stop pull them both gently towards the handlebar.
Once you have starting and stopping down you can work on turning. Start with making a 360 degree turn to the right. Then do them to the left. When you are comfortable with that link them together into a figure 8: Start pedaling and turn one direction until you come back to where you started. Once you are at your starting location start turning the opposite direction until you are back to where you started. Practice figure 8’s going both directions. Try getting the circles to be as small as you can without putting a foot down.
Riding on roads
In the US and many countries bicycles have to follow the same rules as cars. This means that when biking on a road you should be on the same side that cars travel. In the US this means you are on the right side of the road. Be aware that you are sharing the road with cars and try to get as far over to the right as is safe.
You need to obey all street signs and lights that a car does. This includes stop signs and lights. Try to remain predictable to cars and other bikes. This will allow them to anticipate where you are going to avoid running into you.
Always keep in mind that car to bike collisions are the most dangerous part of riding a bike. Don’t count on cars seeing you on the road. If the shoulder is small then you may want to find a safer route to ride. If there is no alternative you may consider wearing high visibility clothing and/or flashing lights:
These have been our favorite lights for a few years. They are super bright and USB rechargeable.
Riding on trails and paths
When you are riding your bike on trails and paths there is some basic etiquette to follow. Bikes should always yield to pedestrians and animals(horses, etc). There are many reasons for this, but you just need follow it. Also if you are going down a narrow trail and someone is riding up you should stop and pull off the trail.
If you need to pass anyone from behind you should alert them of your presence well before you get to them. Based on your speed this may be 20 yards or further. Let them know which side you will be passing on. This should give them enough time to adjust without jumping into your path.
Let people know where you are going
When you are setting out on a ride you should let at least one adult know where you are going, and when you expect to be back. This may mean that you get a fresh lunch or dinner when you get home. More importantly this lets people know where and when they might need to look for you.
If you get a flat tire, or worse, having someone drive and pick you up is always nice. Make sure your cell phone is fully charged before setting off for a ride as well. That way if something does come up you can either call for help or let people know you will be late.
What to take with you
Besides having your bike, wearing proper clothing, and having a water bottle there are a few essential items you should have on a ride:
Identification – If you are incapacitated from a fall having your ID on you will be invaluable.
Cash money – You may need to pay a mechanic or get some calories at a gas station. If you tear your tire’s sidewall a dollar bill can help get you home by patching it.
Multi-tool – The multi-tool you bought after yesterday’s post should fit in your pocket. Bring it.
Fully charged cell phone – Besides calling for help you can see where you are on the GPS map, and take cool photos of your ride.
Staying safe while riding is not too hard but you need to take it seriously. Overall riding bikes is a fun and safe activity. Keep this post in mind and you will be fine.
Workout Detail
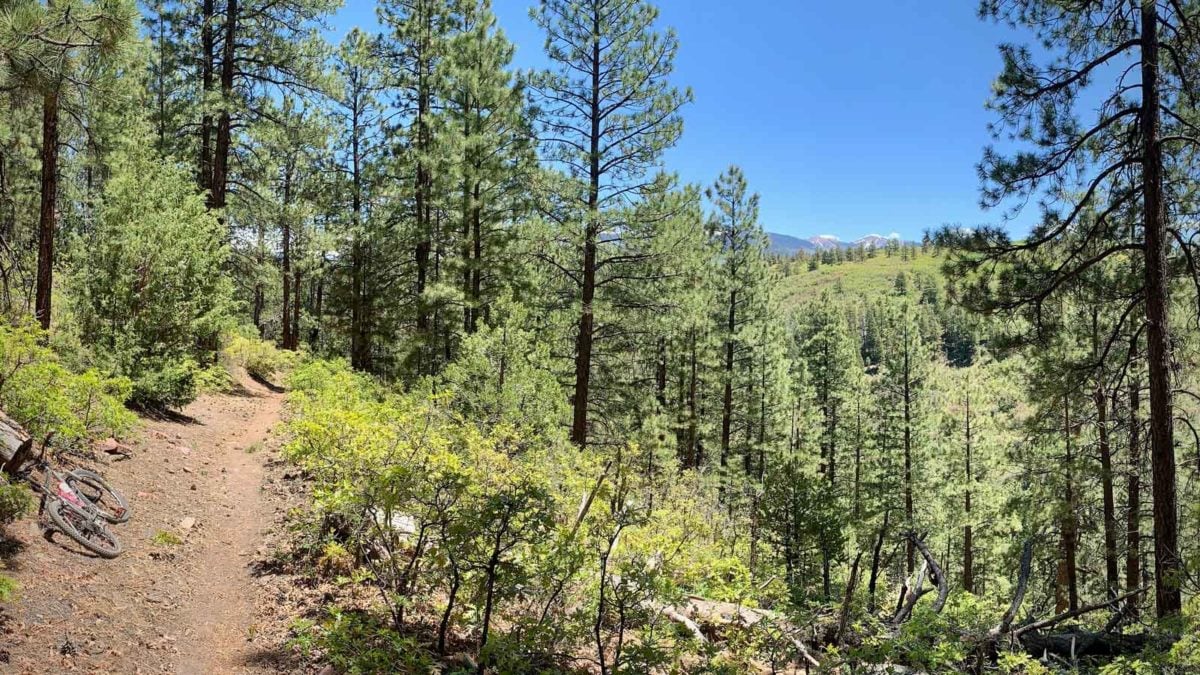
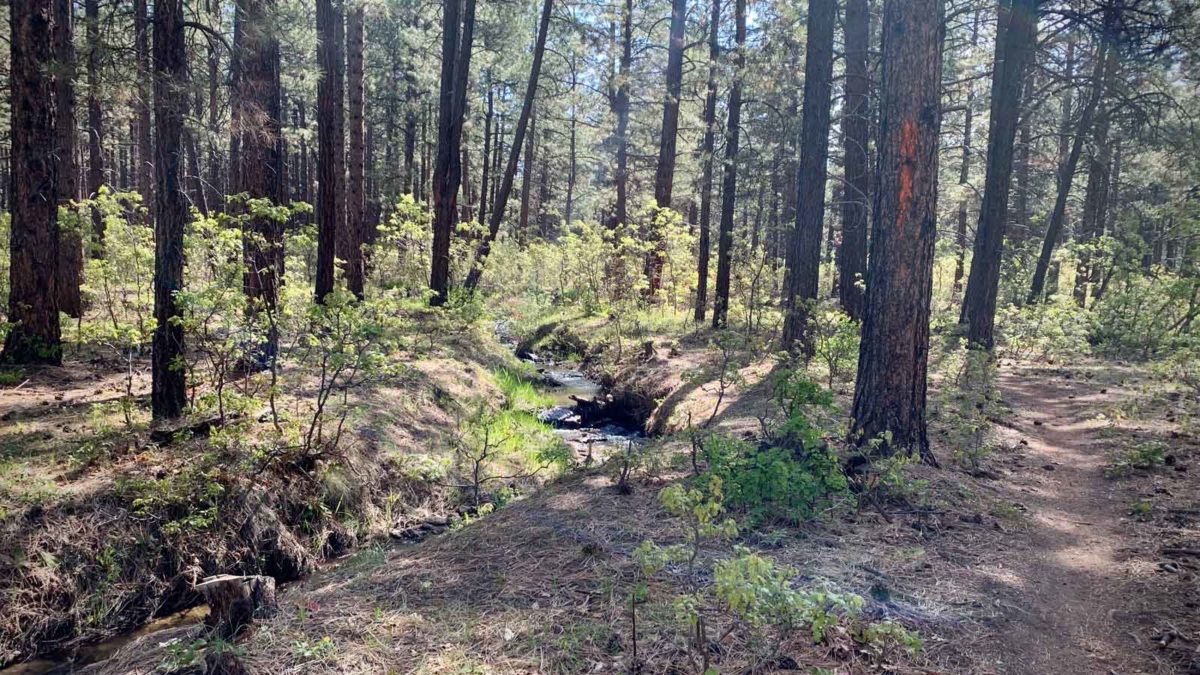
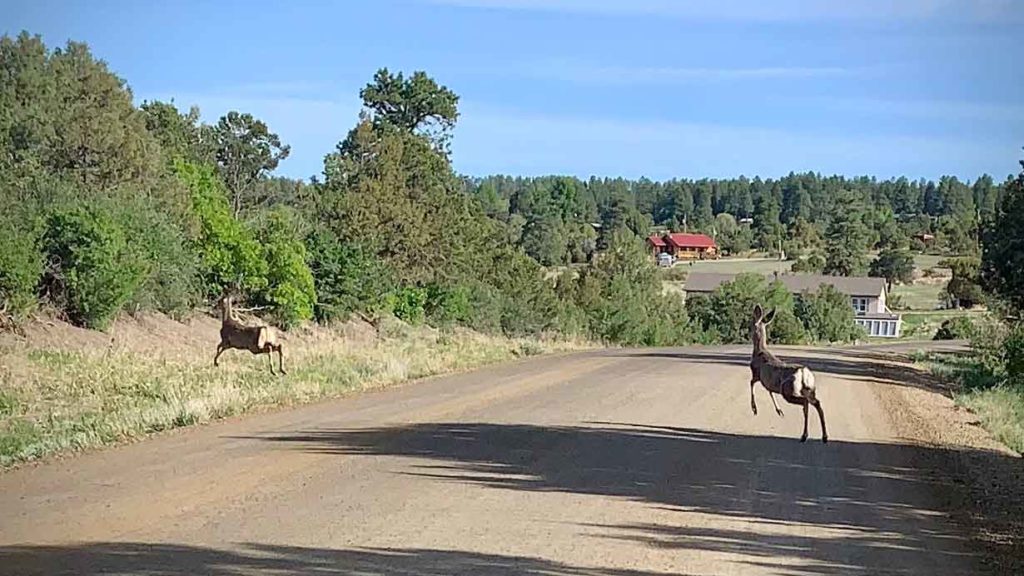
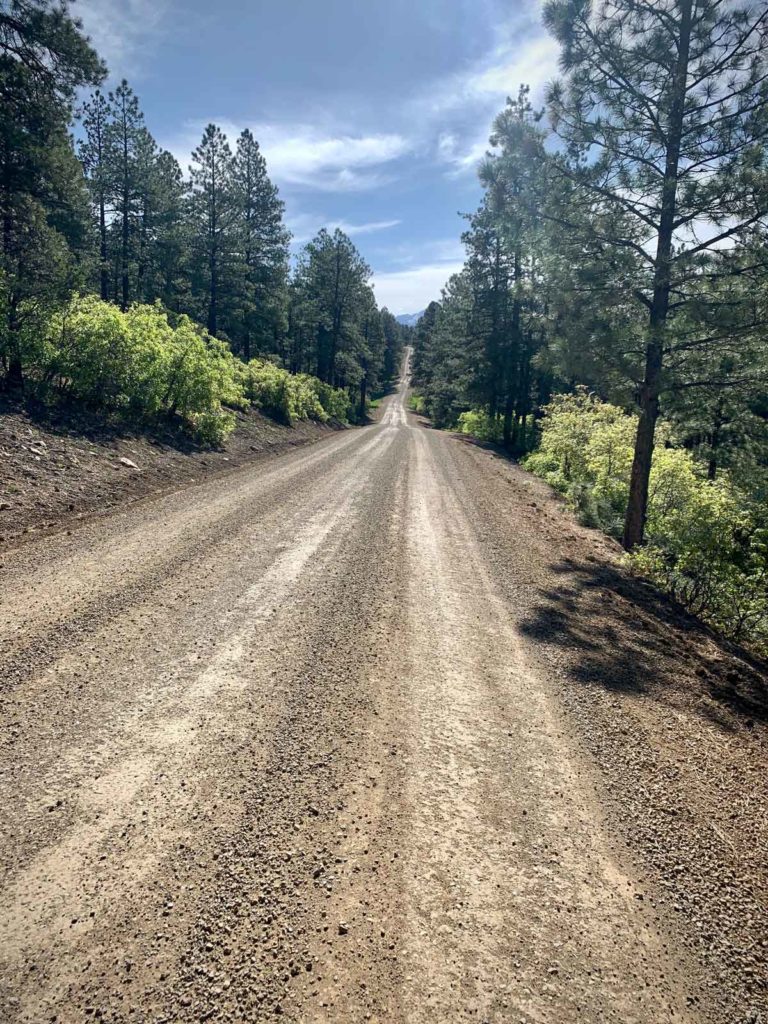
Long slow ride for 2 hours. Today was another beautiful day in Colorado. I road up to the Chicken Creek Nordic Center on Road 40. From there I road on the main large trail loop and then headed home. There were some deer on the road near the start of Road 40. Overall there were not any people out that I saw.
In yesterdays post we talked about choosing a bike based on the style of riding you plan on doing. TLDR; if you are just getting started I suggest getting either a cruiser or hard tail mountain bike. Either one will be comfortable and affordable. Cruiser for pavement riding, mountain bike for dirt riding, although it will also be good on the pavement.
Today we are talking about clothing and tools. For many people the thought of riding a bike means spandex. While spandex does make cycling a lot more comfortable it is not necessary. As a beginner you want to focus on being comfortable and spending as little as possible. You still need to figure out if you want to ride a bike.
T-Shirt and Shorts
The easiest outfit to start of riding a bike in is whatever you wear for working out it already. Shorts and a t-shirt made of anything but cotton. You should avoid cotton as it absorbs moisture and that means your seat is gonna get wet. Which can cause chafing and all kinds of bad things. Athletic underwear, socks, shorts, and shirt are the best combo to keep you dry and happy. On days where I am just spinning the pedals for 30 minutes I will wear the same clothes I wear for my strength training.
Shoes
For shoes you can get away with running or tennis shoes. You should not be considering clip in pedals yet. If you don’t know what clip in pedals are then even better. You should just have flat pedals that are large enough for your foot to comfortably fit on. If you need to buy shoes you shouldn’t need to spend over $50.
Helmet
There is strong debate about whether wearing a bike helmet makes you any safer. For city riding at reasonable speeds I do not think wearing a helmet is necessary. However if you are going to ride longer distances at higher speed you should consider wearing a helmet. If you are going to do any riding on dirt or trails I think you should wear a helmet.
This is the helmet I recommend. It has MIPS technology for safety and a visor which just looks cool. 😎 Oh and the price is very reasonable and there’s a number of good color options.
Tools
The most basic tools you should have to get started are a water bottle, multi-tool, floor pump, tire levers, spare tubes, and chain lube. With these tools you will be able to stay hydrated, tighten almost any bolt on the bike, inflate the tires, change a tire, and maintain the chain.
Having a water bottle with you on a bike is a good idea. Since you are riding at a faster speed than when walking or running you will need more water to stay hydrated. Also the bike usually has one or two bottle holders just sitting there to be used. I like the Camelback Podium Chill bottles as they keep your water colder:
A good multi-tool is small enough to fit in a pocket and has enough tools to fix just about anything on your bike.
For $11 you have the multi-tool and tire levers. We call that a 2’fer.
For a bike pump I have had this Specialized Pump for years. You can find it a many local bike shops in the US, but you cannot find it on Amazon.com. Having a good pump with an accurate gauge will last you a long time. It is important that you check your tire pressure before every ride. The recommended pressure is usually written on the sidewall of the tire. Having it properly inflated will make the ride smoother and reduce the chance of a pinch flat.
Bike tubes come in a variety of sizes and even valve types. Once you get your first bike you will then know what type of bike tubes to buy. Most road type bikes are 700c and most mountain bike types are 26 inch for the diameter of the tube. There are also a variety of widths involved. The 2 valve types are Schrader and Presta and are determined by the size of the hole in you rim. Again, once you get your bike you will know what size tube and type of valve to get. Prices on tubes seem to be going up. I remember them being 2 to 3 dollars a piece but now they are more. They also vary in price. You should be able to get the lowest cost ones and be fine. Be sure to have at least 2 spare tubes and a patch kit:
$10 patch kit will keep your tubes lasting a lot longer.
On a bike with gears you need to pay attention to the chain. If it is not properly lubricated it can shift poorly or even break. You can use regular oil to lubricate the chain but it will get dirty very quickly. Before I changed to waxing my chain I used this lube:
All in all you will probably spend about $100 on the basic tools to start bike riding with. With these tools you should be able to avoid going to the bike shop unless a more serious mechanical issue occurs.
Summary
Having the right clothing to start bike riding is pretty easy. Just avoid cotton at all costs. Deciding to wear a helmet is up to you but if you are going on dirt or off road its generally a good idea as falling is more likely. Getting the basic set of tools mentioned means you will be self sufficient unless you have something break on the bike. With those tools and Youtube you will be able to keep your bike running without visiting the bike shop, unless you have money burning a hole in your pocket.
Workout Detail
Today was a strength day but last night I was up late looking for a friend who was supposed to be on a 2 hour ride. They ended up being fine but I ended up staying up late trying to get yesterdays post done. So I slept in this morning. However, after my work shift I did spend an hour working on a new trail I am building on my land. It was a decent workout and I made some good progress. I will write some articles about that process soon!
I hope this was helpful. Let me know if you have any questions in the comments below. Tomorrow we cover how to stay safe on your bike. See you then!